One of the easiest and most efficient ways to begin growing cannabis is to germinate seeds in shot glass. Growers have been using this traditional method for decades because it is easy to use, dependable, and requires little equipment. You can confidently start your cannabis plant’s life with just a shot glass, water, and a little perseverance. We’ll go over the shot glass germination procedure in detail in this post, along with success-oriented advice and answers to frequently asked questions by novice growers. This guide will help you whether you’re working with high-quality feminized seeds or are just trying out a few single strains.
Why Choose Shot Glass Germination?
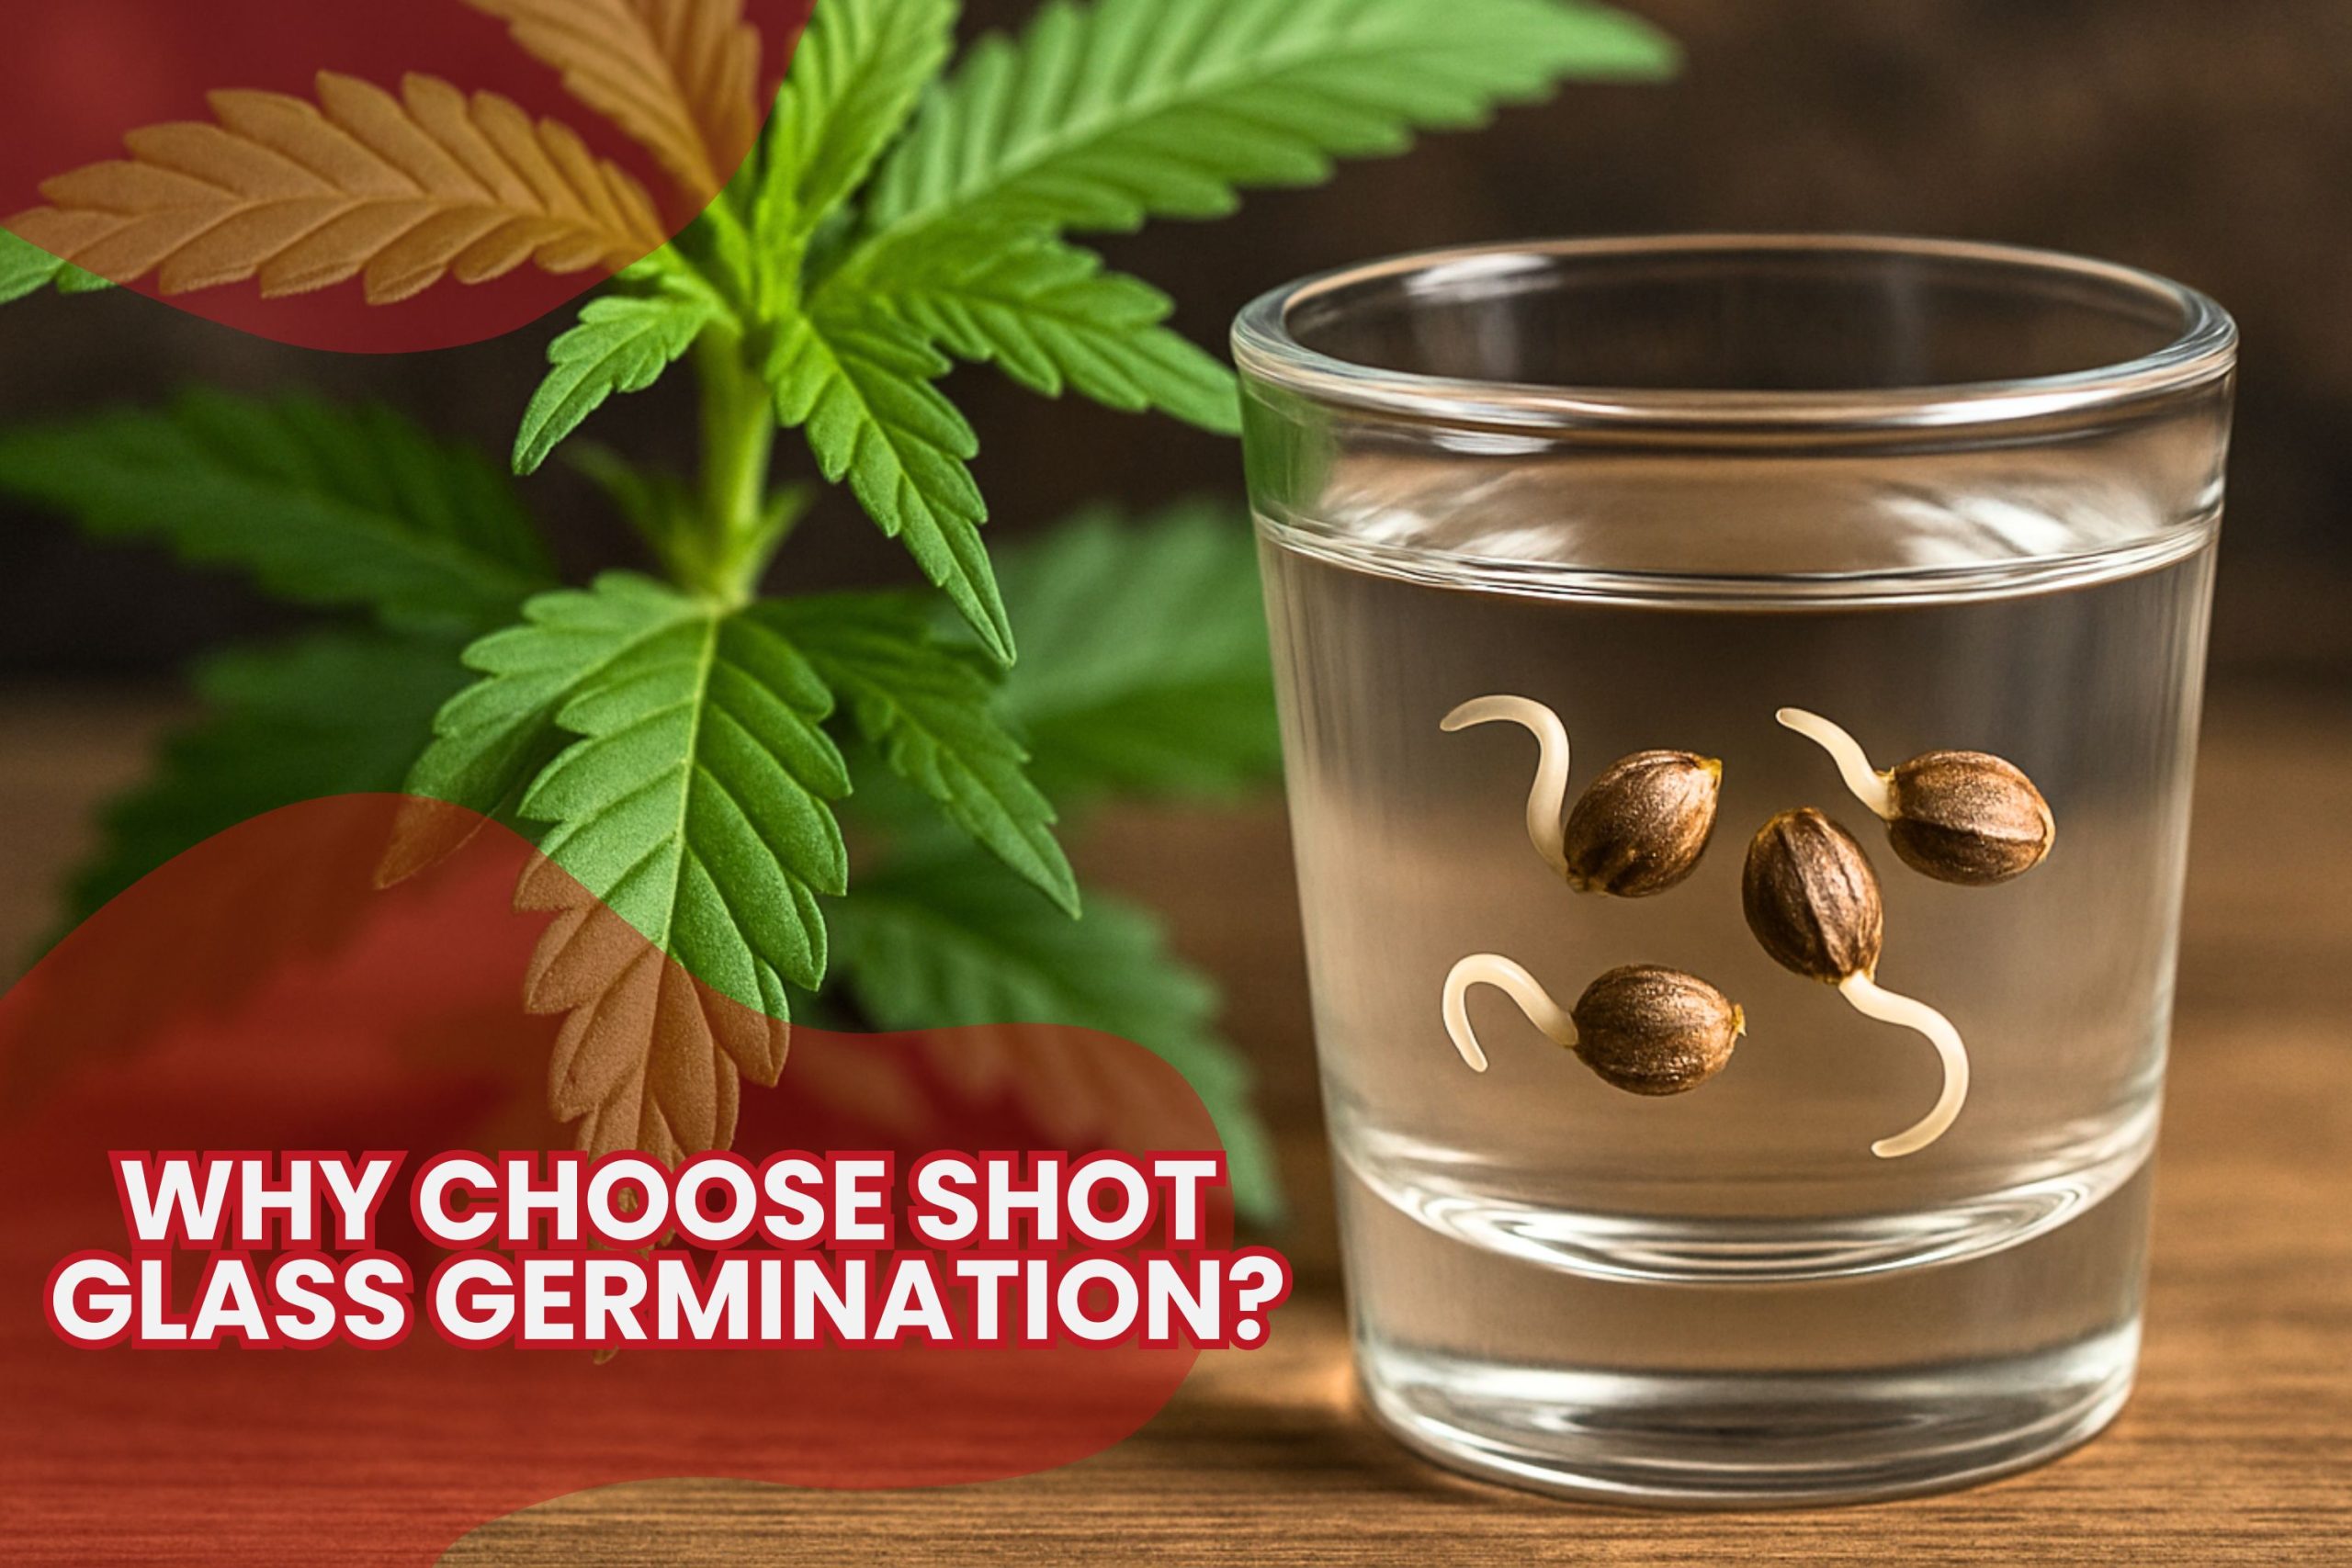
The shot glass germination method is incredibly straightforward. It allows growers to observe seed viability before transferring to soil or a grow medium. By immersing marijuana seeds in a shot glass of water, you are starting the hydration process, which is the first stage of germination. Enzymes within the seed are activated by moisture, which causes the seed to emerge from dormancy and begin developing a taproot.
Because it offers observable indicators of improvement, this method is especially helpful for novices. Within a day or two, you can determine whether a seed sinks, floats, or even cracks open. Growers can quickly determine which seeds are worth planting and which might be duds thanks to this early feedback.
Supplies You’ll Need
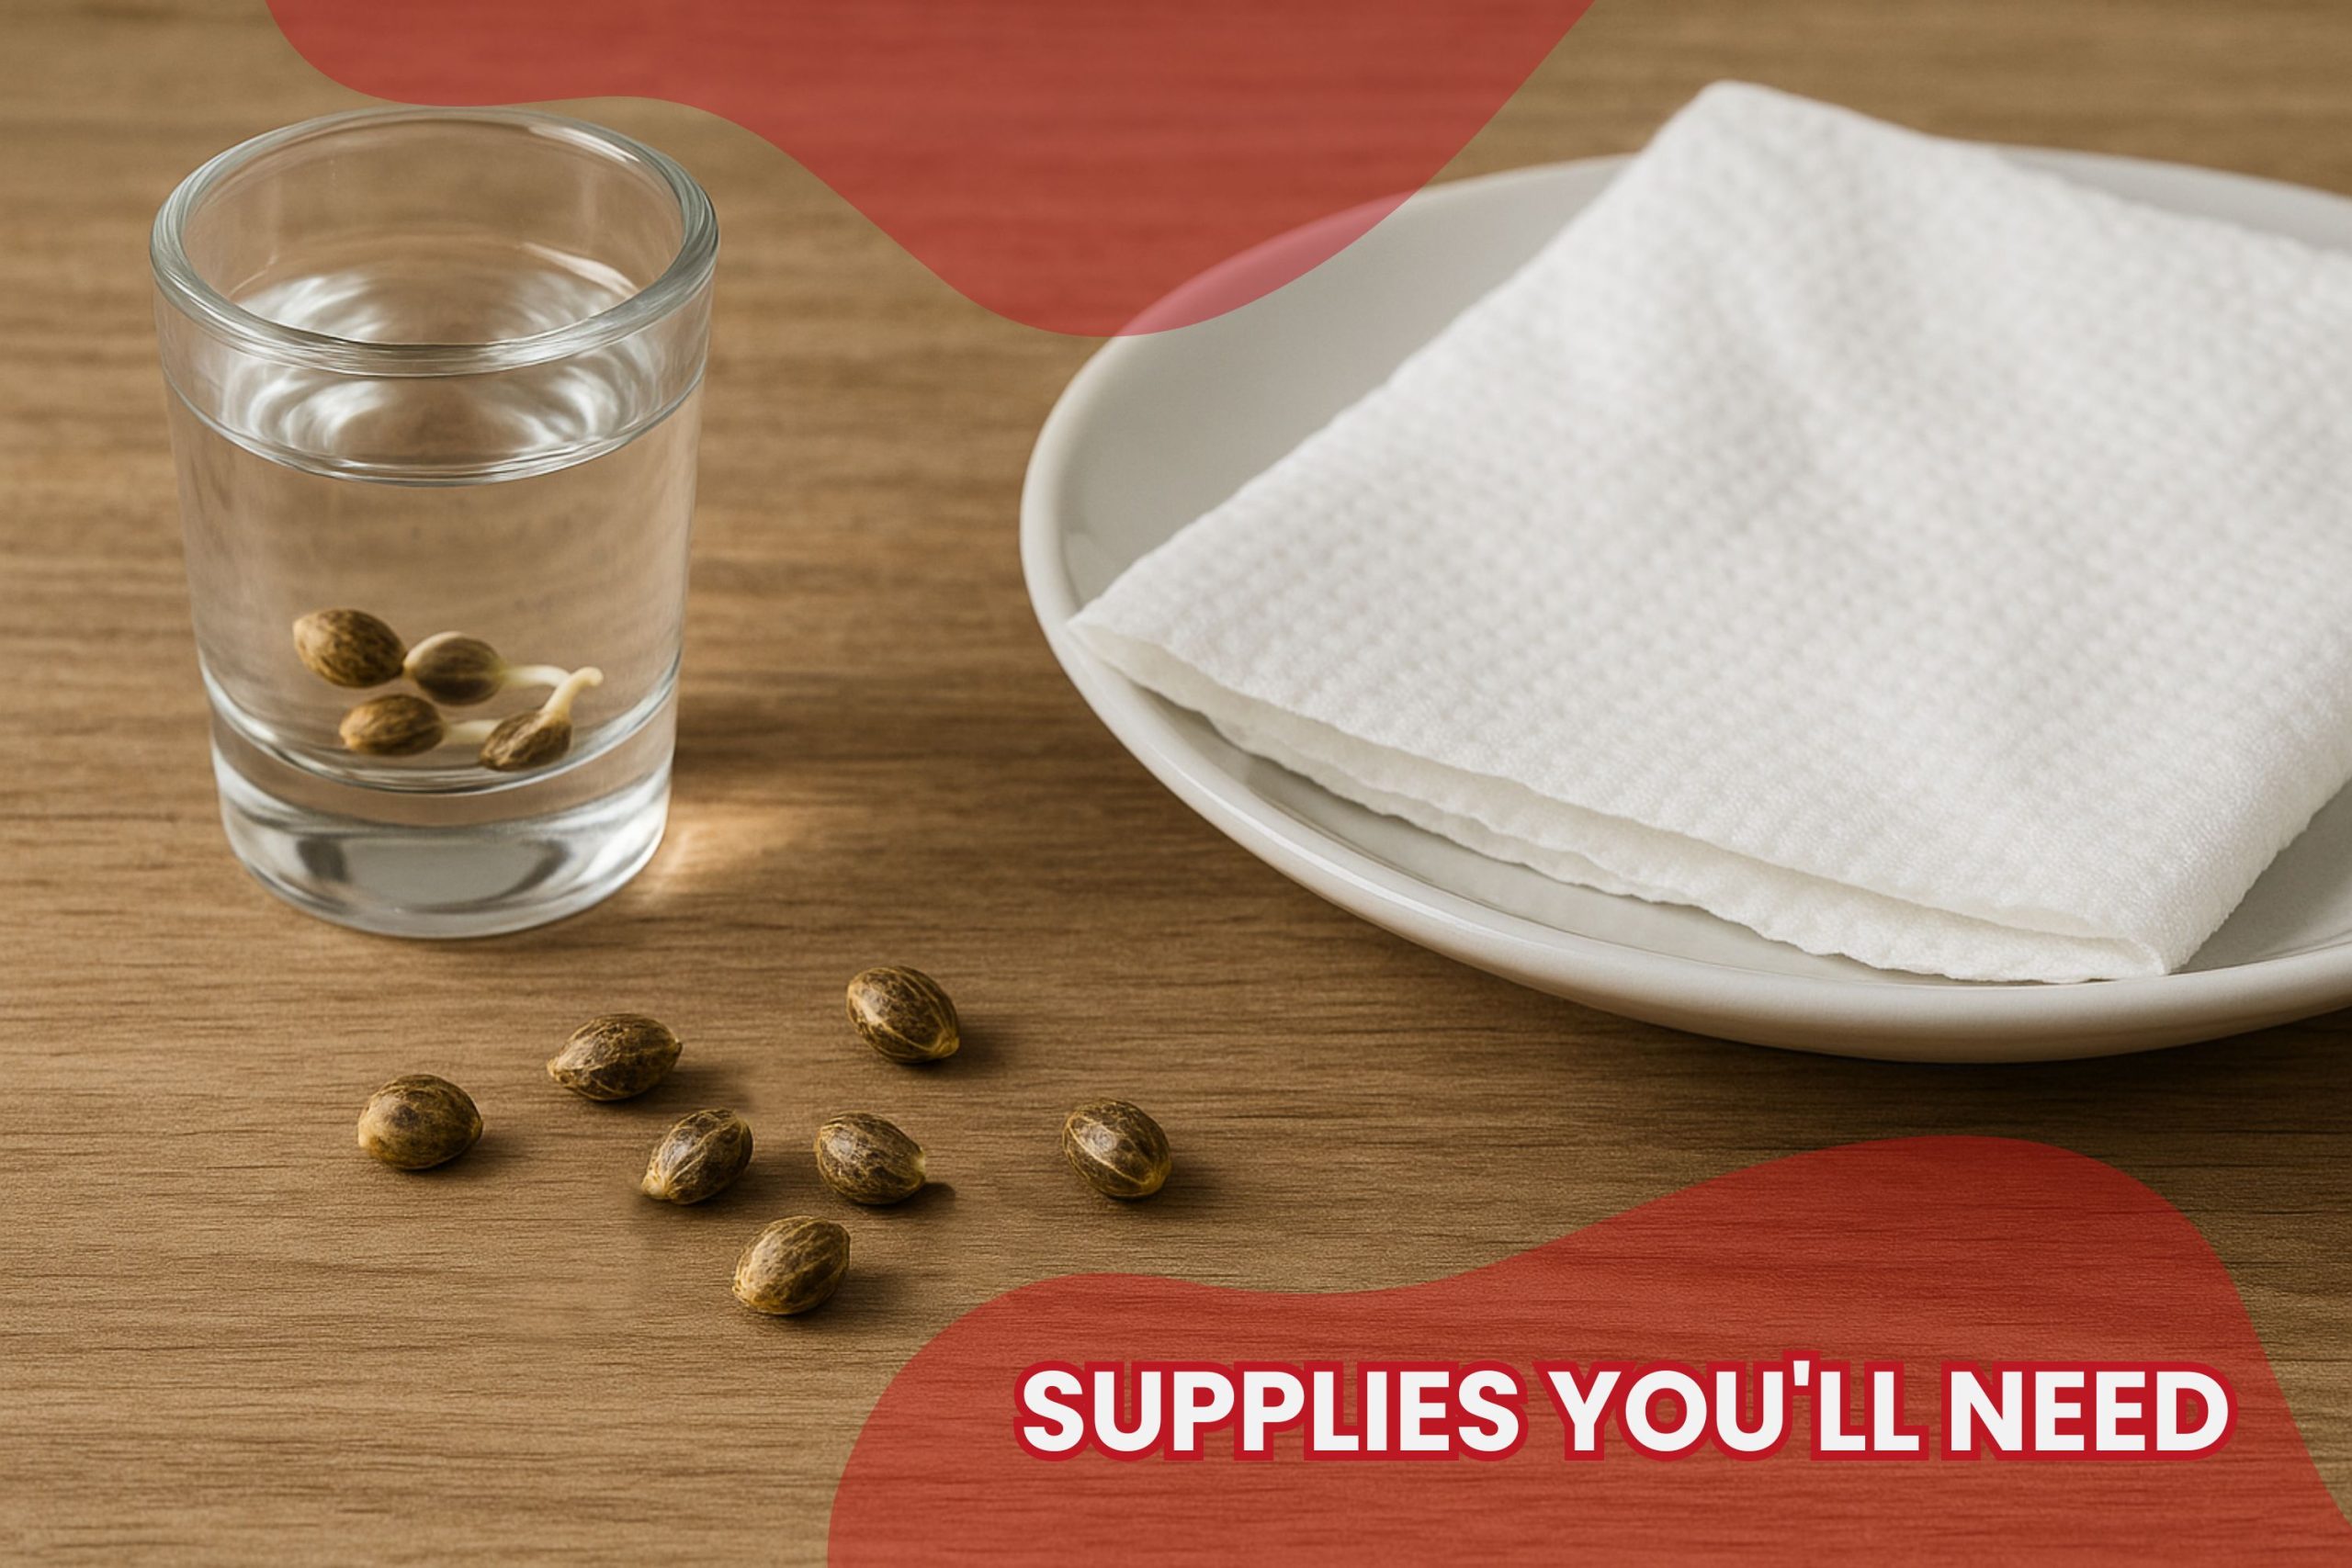
To begin germinating marijuana seeds in shot glass, you’ll only need a few items:
- A clean shot glass or two (depending on how many seeds you plan to germinate)
- Filtered or distilled water
- Marijuana seeds (feminized or regular)
- Paper towels and a plate (optional for follow-up step)
- Warm, dark space like a cupboard or drawer
To protect the fragile seed, make sure your shot glass is sterile and clear of any residue. Water that is too hot or cold could shock the seed and prevent germination, so room temperature is the best.
Step-by-Step Guide to Shot Glass Germination
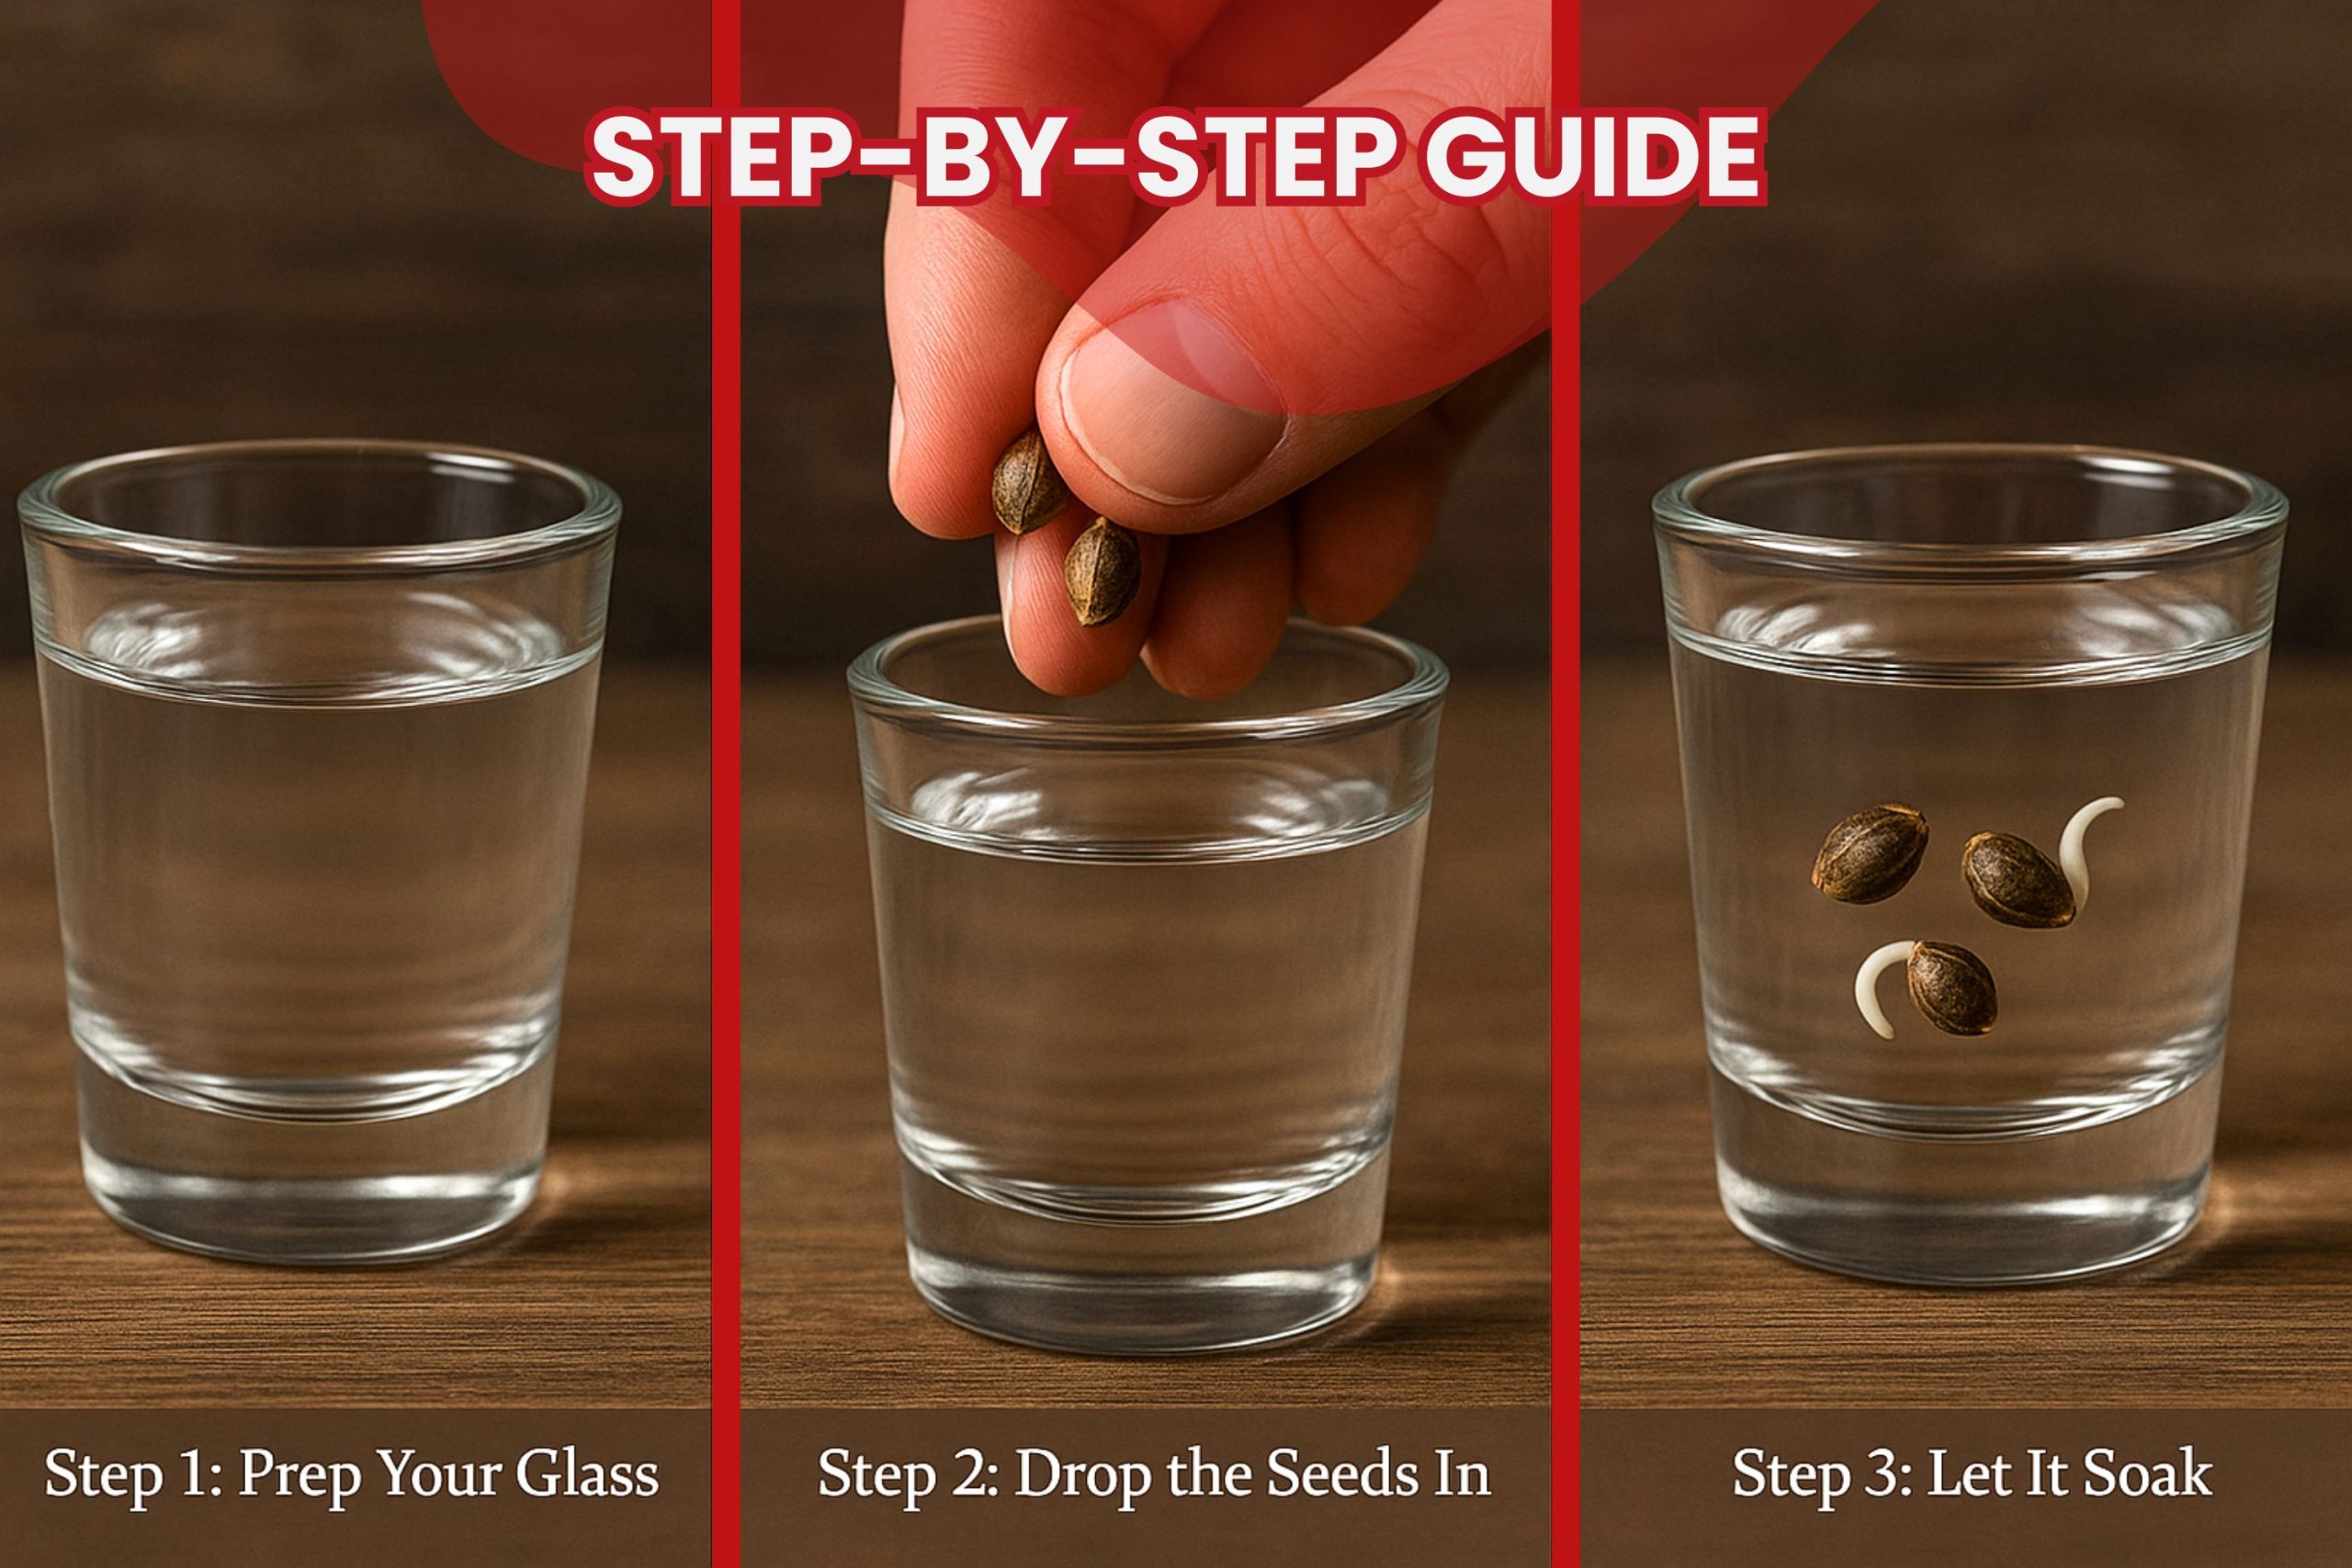
Step 1: Prep Your Glass
First, use warm water to thoroughly clean the shot glass. Make sure there is no soap residue by giving it a thorough rinse. Pour filtered or distilled water at room temperature into it until it is about halfway full.
Step 2: Drop the Seeds In
If you are working with one or two individual marijuana seeds, this is a great way to keep a close eye on them. After 12 to 24 hours, some seeds may start to sink, which is typically an indication that they have absorbed enough water to start germination. Gently place one marijuana seed into each shot glass.
Step 3: Let It Soak
For 24 to 48 hours, leave the seeds in the shot glass. The shot glass should be placed in a dark, warm area (about 70–80°F or 21–27°C). A drawer or cabinet in the kitchen that is out of direct sunlight or drafts is ideal. The seed’s outer shell may crack after a day or two, and a tiny white root known as a taproot may appear.
Pro Tip: Don’t soak your seeds for more than 48 hours—soaking your seeds for longer than 48 hours can suffocate them and lower their chances of successfully germinating.
After the Shot Glass: What’s Next?
When a taproot begins to form, it’s time to move your seed to a more conducive germination environment. At this point, the majority of growers either plant straight into their growing medium or use the paper towel method.
If you decide to use the paper towel method, place the seed on a plate between two damp paper towels. The plate should be kept in a warm, dark place, and the moisture content should be checked frequently. Your seed should have a stronger root and be prepared for planting in another 24 to 48 hours.
As an alternative, if you’re ready to plate up solo seeds, you can plant the seedling in a small solo cup or seedling tray filled with moist soil, making sure the taproot is pointing downward for best growth.
Tips for Successful Shot Glass Germination
- Use quality seeds: Always source from reputable seed banks to increase your chances of healthy germination.
- Avoid chlorinated tap water: Chlorine can inhibit seed development. Whenever possible, use distilled or filtered water.
- Keep a steady temperature: Maintain a constant temperature because seeds are sensitive to changes in temperature. In colder climates, a heating mat can help keep you warm.
- Label your shot glasses: Label your shot glasses so you can identify which seed is which if you’re germination-ing more than one strain.
- Monitor for mold: A musty odour or a hazy film in the water could indicate contamination. If in doubt, always start over.
Common Mistakes to Avoid
While the shot glass germination method is easy, there are a few pitfalls to be aware of:
- Over-soaking: Leaving seeds in water beyond 48 hours can drown them.
- Using dirty containers: Even minor contaminants can affect your seed’s viability.
- Planting too soon: Wait until the taproot is at least ¼ inch long before transferring to soil or another medium.
- Rough handling: The emerging taproot is extremely delicate. Always handle germinated seeds with tweezers or gentle fingers.
Conclusion
One of the easiest and most accessible methods for starting a cannabis garden is to germinate marijuana seeds in shot glass. This technique gives you important information about seed viability early on, regardless of whether you’re growing a single seed or intend to plate up solo seeds before growing your grow. It is low-tech, inexpensive, and very efficient, making it ideal for both novices and experts.
You can position yourself for a successful grow from day one by taking the proper precautions, avoiding common blunders, and giving your seeds the care they need. Now get your shot glass (you don’t need tequila) and start growing marijuana!
FAQs on Germinating Marijuana Seeds in Shot Glass
1. How long does it take for marijuana seeds to germinate in a shot glass?
Within 24 to 48 hours, seeds usually start to show signs of germination. Some obstinate seeds, though, may take up to 72 hours. It’s important to be patient, but don’t soak for more than two days.
2. What if my seed floats and doesn’t sink?
A floating seed isn’t always a bad thing. After a few hours, try tapping it gently. Give it more time to soak if it still floats. After they have absorbed enough water, seeds frequently sink over time.
3. Can I use tap water for shot glass germination?
Although tap water can be effective, it frequently contains chemicals like chlorine that could damage the seed. To guarantee a clean environment, it is best to use distilled or filtered water.
4. What’s the next step after the shot glass method?
When a taproot appears, move the seed to a damp paper towel or plant it straight into a tiny container filled with soil or another growing medium. Maintain a warm, humid atmosphere to promote continued growth.
5. Is shot glass germination better than other methods?
The grower’s preference will determine this. Shot glass germination is very beginner-friendly and provides a visual check on seed viability. Other techniques, such as direct soil planting or paper towelling, can, nevertheless, also be very successful.